My shots attempt on Milky Way
Ever since I own my DSLR, I have dream to shoot the Milky Way on a perfectly clear night sky. After a series of trial and error, here I would like to summarize how you can get a shot on the milky way as well.
There are few guidelines to shoot Milky Way:
- Location
 |
| Google Sky Map Application |
From May to August each year, the Milky Way is rising from the South East horizon and setting on the North West horizon generally. For their precise location, you can install an apps on your Android (not sure other phone OS have it) called Google Sky Map. Using this apps, locate the Scorpius and Sagittarius constellation and use that location as a starting point. Right about now(July 2013), the Milky Way is rising high enough on the South East direction around 11pm.
Besides, you should look for a location away from the streets light and city light pollution to maximize the visibility of the Milky Way.
2.
Composition
You would like to include some of the object eg. trees, house, mountain as part of your composition to show the sense of scale in the photo. However, you can try out different composition as you have hours to photograph the subject which is moving slowly across the sky.
3.
Weather Condition
Do check on the weather forecast on the area that you are about to visit. You need a perfectly clear sky (not even cloudy) in order to get the shot. Besides, watch out for the moon cycle as the moon light can pollute the sky as well. You can check the moon rise and moon set cycle on the internet.
4.
Gear
Now we are talking. My recommendation on the gear would be:
- A good camera body. APS-C sensor size at least. This ensure your camera have big enough sensor to pick up the weak light from the distance stars and often result in better high ISO performance.
- Wide angle and big aperture lens. If you can afford the f/2.8 lens such as the Tokina 11-16mm f/2.8 for the crop sensor or the Canon 16-35mm f/2.8L then it shouldn't be a problem. My entry level lens would be the Tamron 17-50 f/2.8 Non VC as it is the better choice beside the kit lens. However, if you only have your kit lens, which the maximum aperture at f/3.5 at 18mm, then you would like to give it a try. I will explain why you need such big aperture lens later.
- Tripod!!! or anything that allows your camera stay still during the exposure. Gorilla pod??
- (optional) remote cable shutter release. This is to ensure your camera did not shake when you press down the release shutter. However, you could use your built in camera timer release to avoid camera shake.
- Torch Light. You often shoot in the dark environment. Make sure you can shine your way into the right position and not end up into the swamp or something.
- Proper attire. Jeans, shoe, jacket to cover yourself during the night and walk through the bushes.
- Pepper spray and baseball bet? For security purposes in a not so safe country we live in.
5. Settings
Generally you would get better result with the following settings.
- ISO highest you can get. e.g. 1600-3200. Don't worry about the noise. Lightroom or Adobe Camera Raw are good in removing the noise in the post production part. You need to harvest all the available light from the distance star first!
- Largest Aperture possible. For instance, f/2.8 or f/1.8 if you have a wide angle prime. Big aperture means more light can get into your sensor in the same amount of exposure time.
- Focus to infinity. You want your star cluster to look sharp doesn't you? Otherwise you can calculate what is your lens hyperfocal distance (distance to set on the focus scale whereby all the object in your lens would appear sharp!) at a given length which I have no talent to understand it.
- Exposure time not more than 20 seconds! Otherwise your star will start to move and you get a short trail on all the stars you capture. (not the longer the better unless you want to do star trails)
6. Personal Safety
Last but not least, safety first! You might want to travel in packs, carry some light weapons or even first aid kit. Who knows what would happen in the dark bushes? At your own risk.
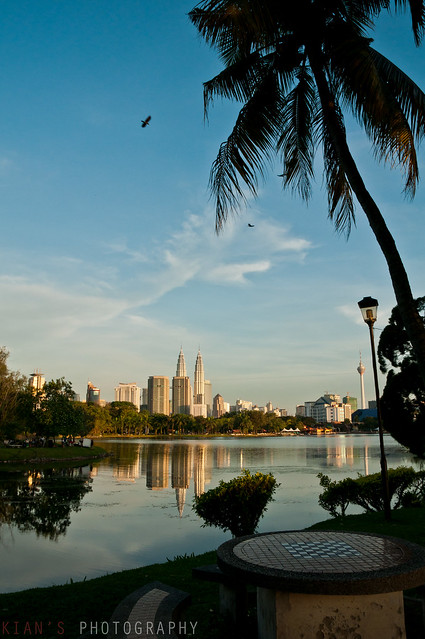
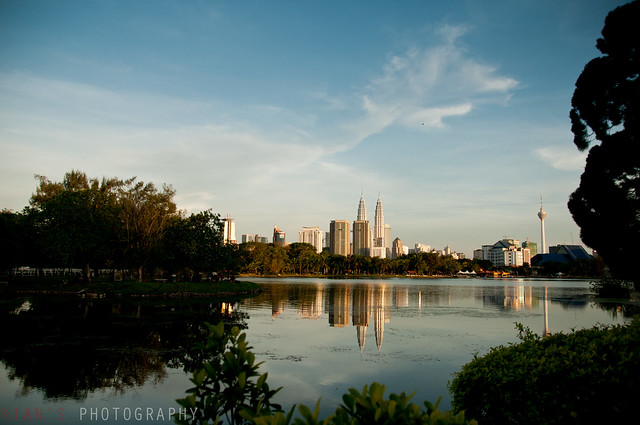
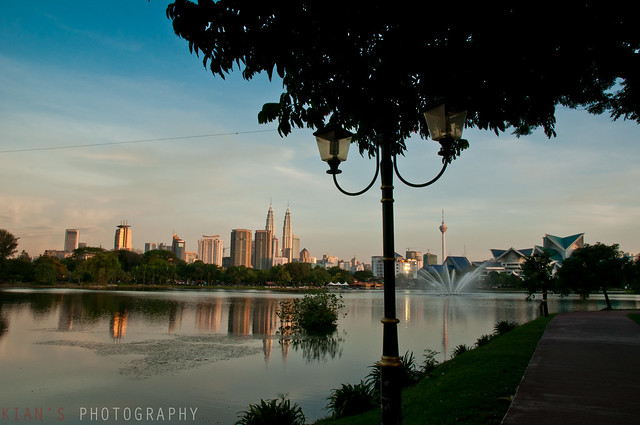
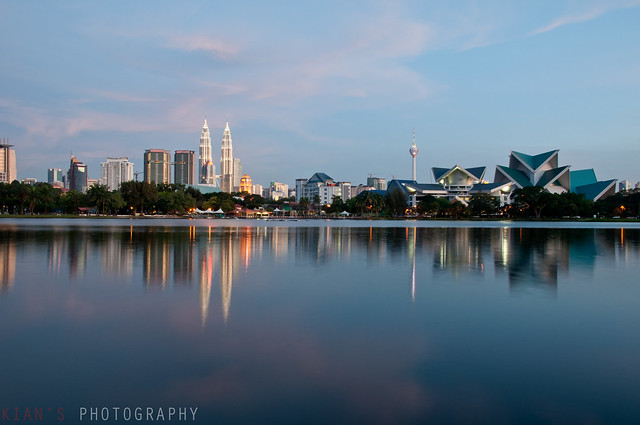
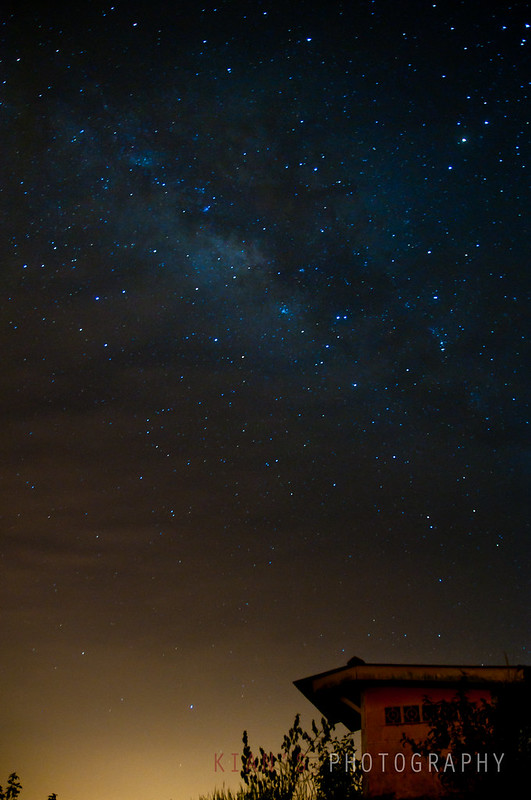
Finally, I would want to show my outcome on my recent attempt.
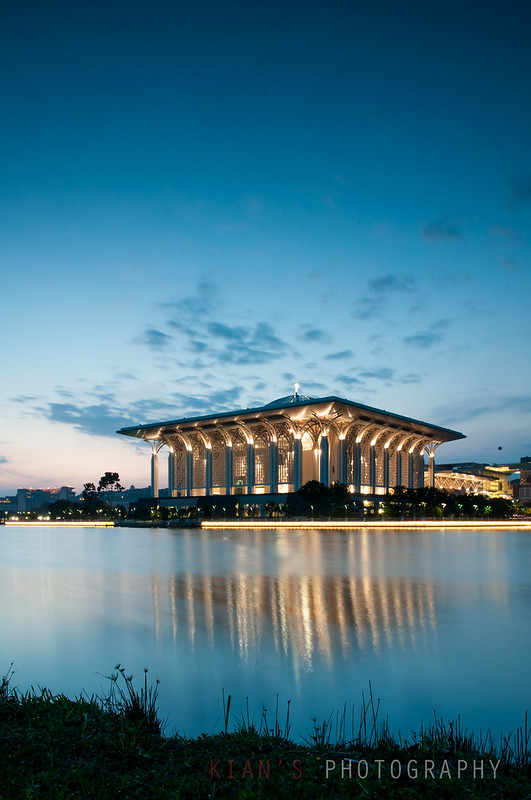
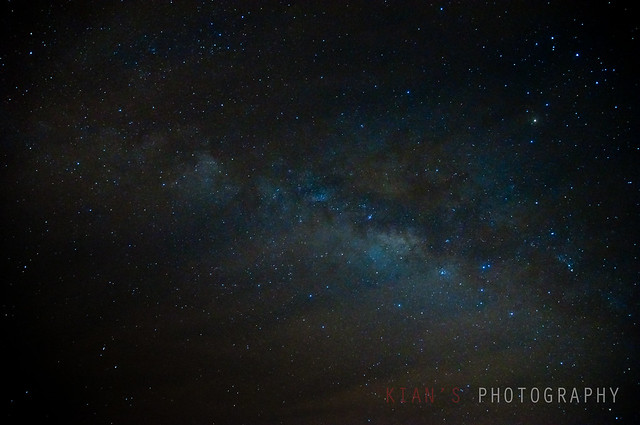 |
| ISO 1600 | 17mm | f/2.8 | 15 sec |
 |
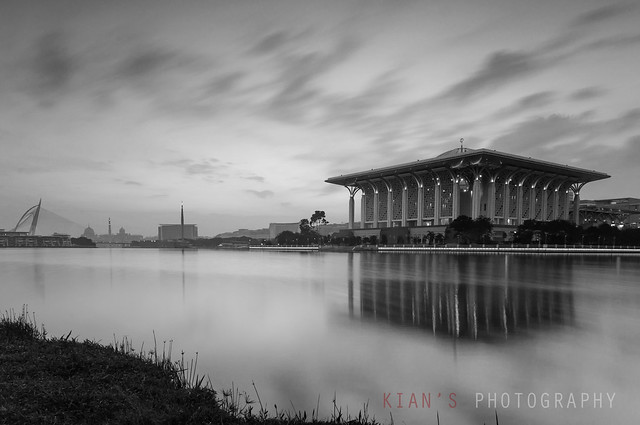
| ISO 1000 | 17mm | f/2.8 | 30 sec |
 |
| ISO 1000 | 17mm | f/2.8 | 30 sec |
If you need more reading, I recommend you check out Milan Teh blog. I get my reference from her as well.
http://www.milanteh.com/2012-05/how-to-photograph-milky-way
It might not be the best, and for sure I will keep trying! Good luck~
Contact Me!!